 aigenerator
Make a 20-second AI game concept trailer
A game video should communicate a world and a readable action. This exercise creates a 20-second concept trailer for an original science-fiction game. The output is promotional footage, not a playable game, engine capture or proof of implemented gameplay.
A game video should communicate a world and a readable action. This exercise creates a 20-second concept trailer for an original science-fiction game. The output is promotional footage, not a playable game, engine capture or proof of implemented gameplay.
1. Define the promise honestly
Write a one-sentence brief: “An explorer crosses an abandoned city and activates an energy gate.” Decide whether the footage is a concept trailer, a character reveal or a cinematic cutscene. Label it appropriately when you publish; do not present generated imagery as actual gameplay if it was not captured from your game.
Prepare original character art or references you have permission to use. Keep a short style card: silhouette, costume materials, environment scale, lighting and accent color. A strong silhouette is usually more useful than a long list of tiny costume details.
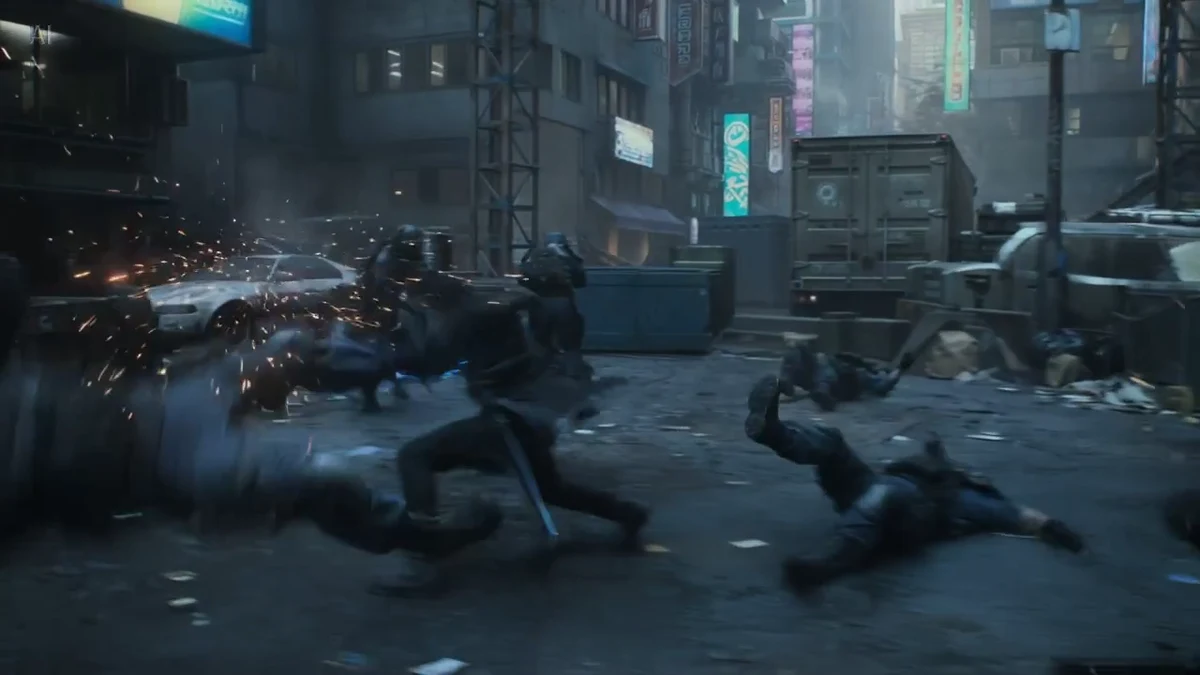
Frame from an official Seedance game-CGI demo, used as a visual reference rather than an example of this fictional game.
2. Cut the idea into three visual jobs
| Edit section | Image | What the audience learns |
|---|---|---|
| 0–6 seconds | Wide abandoned-city reveal | The world |
| 6–14 seconds | Character activates a gate | The central action |
| 14–20 seconds | Character silhouette and gate light | The identity and closing beat |
Generate each shot separately at supported durations, then trim. Leave the final title, release wording and platform badges for the editor. Do not let a model invent a release date or imply a console partnership.
3. Generate the action before the spectacle
Open the game-video workspace. Select a model appropriate for your visual style and inspect the current settings. If a recognizable character matters, use image-to-video with a clean reference.
An original adult explorer in a charcoal protective suit stands beside a circular energy gate in an abandoned futuristic city. The explorer places one hand on a large control plate. A blue light travels around the gate rim. The camera slowly arcs at waist height. Stylized cinematic game CGI, clear silhouette, one readable action, no interface or on-screen text.
Keep action count low. If you add running, jumping, combat, particles and a camera orbit at once, a failure will be difficult to diagnose. Generate the gate activation first; add the city reveal only after the visual rulebook works.
4. Edit like a trailer, not a slideshow
Use an opening with depth, an action with a clear beginning and end, and a closing composition with space for a title. Carry one sound or music motif across cuts. Use audio you own or have licensed. Add your real title and a truthful call to action, such as “Follow development,” rather than a fabricated launch claim.
Match color and contrast across shots. A simple cut on the moment the gate lights up can feel more intentional than a transition preset. For a vertical teaser, reframe the original composition and check that the hand and control plate remain visible.
5. Check the claims and the frames
Watch for costume drift, extra fingers, sliding feet and inconsistent object scale. Replace only the failed shot. A close detail or reaction can sometimes repair a sequence more economically than another wide action shot.
Keep an asset list with the source of character art, fonts, music and generated clips. If the film represents an existing game, have the team confirm that the footage does not promise mechanics or features the game lacks. Track credits by accepted shot and keep an editable project so branding changes do not require regeneration.
Sources & verification
- Seedance 2.0 — official demos ↗ · checked 2026-11-05
- MiniMax — text-to-video API documentation ↗ · checked 2026-11-05
- Volcengine — video generation API documentation ↗ · checked 2026-11-05
Product details can change. Source verification is separate from hands-on testing.